How to send an email marketing campaign using Websand
This post explains the five steps you need to follow to be able to send your first email marketing or marketing automation campaign using Websand. The post assumes you have just created a Websand account, so we are starting from ground zero!
If you need help, click here and schedule a free 30 minute session with the team
Five steps to the best email you’ve ever sent
Step 1 – Connect your data
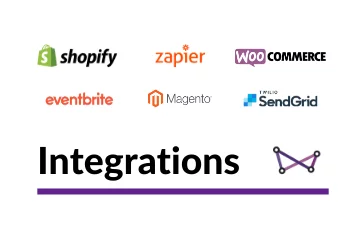
Sending email without data is impossible so the first thing you need to do is to either import your existing subscriber audience or pick from the many existing Websand integrations to get your systems connected and your data flowing. Need help? Book a call and we’ll get you onboarded.
Step 2 – Create a send identity
Once you’ve imported an audience or connected your existing business systems you can move to the next step. Creating a send identity. That’s setting up the email address you’ll be using for your email marketing.
Step 3 – Design the message
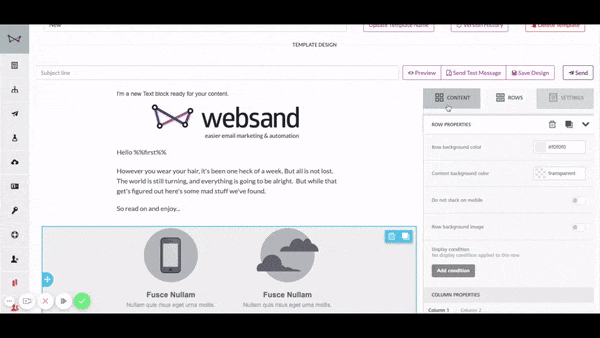
Now the really fun bit, creating your email designs. Websand has a best in class drag and drop editor and marketers love it. No more fiddly HTML, or time consuming image resizing. Just import your images into the mobile optimised editor and drag them around.
Step 4 – Segmentation
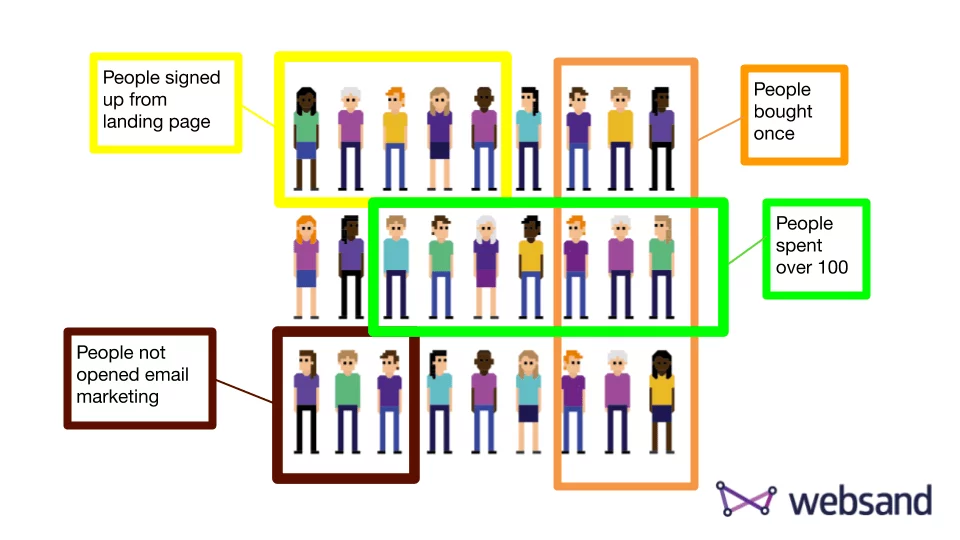
Segmentation is the key feature of Websand. Use segmentation to manage your email audience into key groups, be that based on their profile, their spending habits or how they’ve reacted to your marketing. Save a huge amount of time and have your customer data managed as you need it whenever you need it.
Finally, start Sending
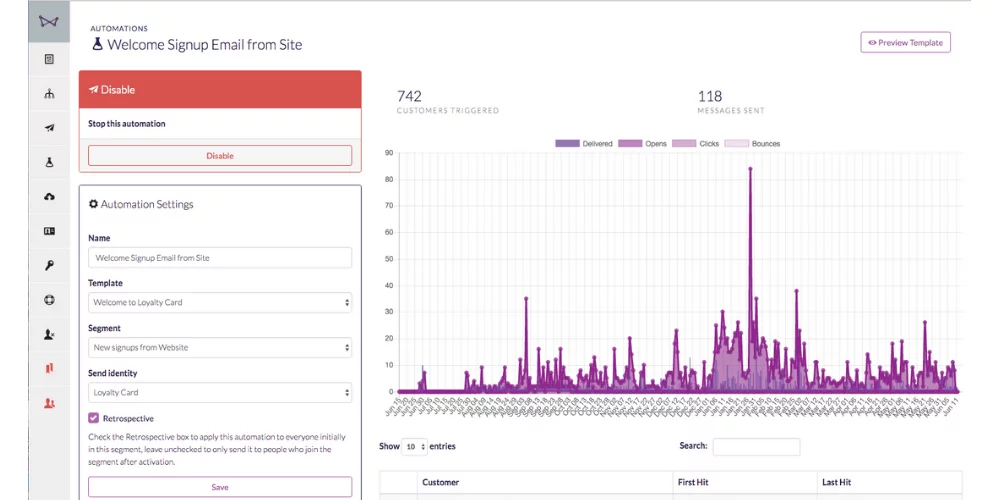
Send those beautifully designed marketing message to your specially selected target audience. Send now, send later or create an automation. You decide.
Need help with your email campaigns?
If you need more help using the Websand platform, or want further help with your email marketing or data strategy.
We are waiting to help.
Get in touch or book a free 30 minute with us on using the calendar below.