Creating a sender address
You need to create a sender address before you can send any emails from your Websand account. Be that sending yourself a test message, sending or scheduling a email marketing campaign, or creating an email marketing automation process through the Websand Engines.
This page explains what you need to know and the process you need to follow.
Why do I need to create a sender address?
You can’t send any email without a send address.
So we need you to set up your sender address, and where you want replies to be re-directed.
And we recognise that you might need to send different email messages from different addresses so you can do that too.
Note to avoid any deliverability issues, it’s recommended that you restrict your sending from a single domain wherever possible.
Use a company email address, be professional
You need to create a sender address to send email marketing. You can create as many as you need, but they need to be real email addresses, and don’t forget to include a reply to address.
Please don’t be offended, but we need you to be professional
Make sure you use a company email address – please don’t use a gmail, hotmail, aol style email address.
Those emails are for personal mail not for marketing email and if you try to use non-company email addresses you’ll run into issues.
Setting up your Send Identity
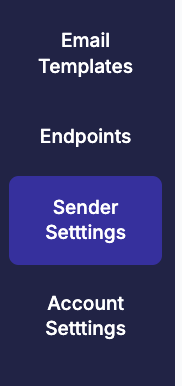
Select the ‘Send Identities’ from the menu.
Fill out the following form, take note of the instructions below.
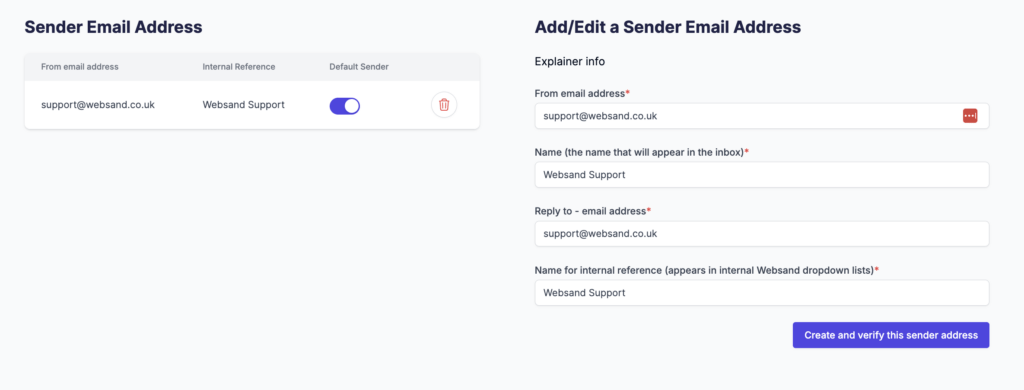
The From email address entry is the email address that will be used when sending the email message from Websand. We recommend you do not use a no-reply email address, a personally named address is best wherever possible. E.g. bill@bobsmeatshop.com
The Name field is the name you want to appear in the inbox so make sure it is appropriate, e.g. Bobs Meat Shop’. Please don’t use an email address in this field’
Remember to set a reply address for the email so you can monitor out of office and bounces, e.g. reply@bobsmeatshop.com.
The name for internal reference is your own nickname for that email address, useful if you are using more than one sender address within the account.
Once complete, hit the ‘create and verify this sender address’ button
Hey presto! you’ve now got a sender address.
That will now appear in the ‘sender’ option in both the send campaign and automation screens so you can start your email marketing.
Advance settings.
Creating a white label your sending.
It’s recommended that you white-label your domain to make sure your online reputation is super strong and you’ve got the best possible chance to win the war of the inbox.
That is an advanced feature, and will requires some DNS changes at your side.
To get that in place, please schedule sometime on the calendar below or get in touch.
Need help with your email campaigns?
If you need more help using the Websand platform, or want further help with your email marketing or data strategy. We can help, so please get in touch.
Email support@websand.co.uk .